BLOG

Posts Tagged ‘professional painter’

Naramata Water Front Custom Home

Posted on:

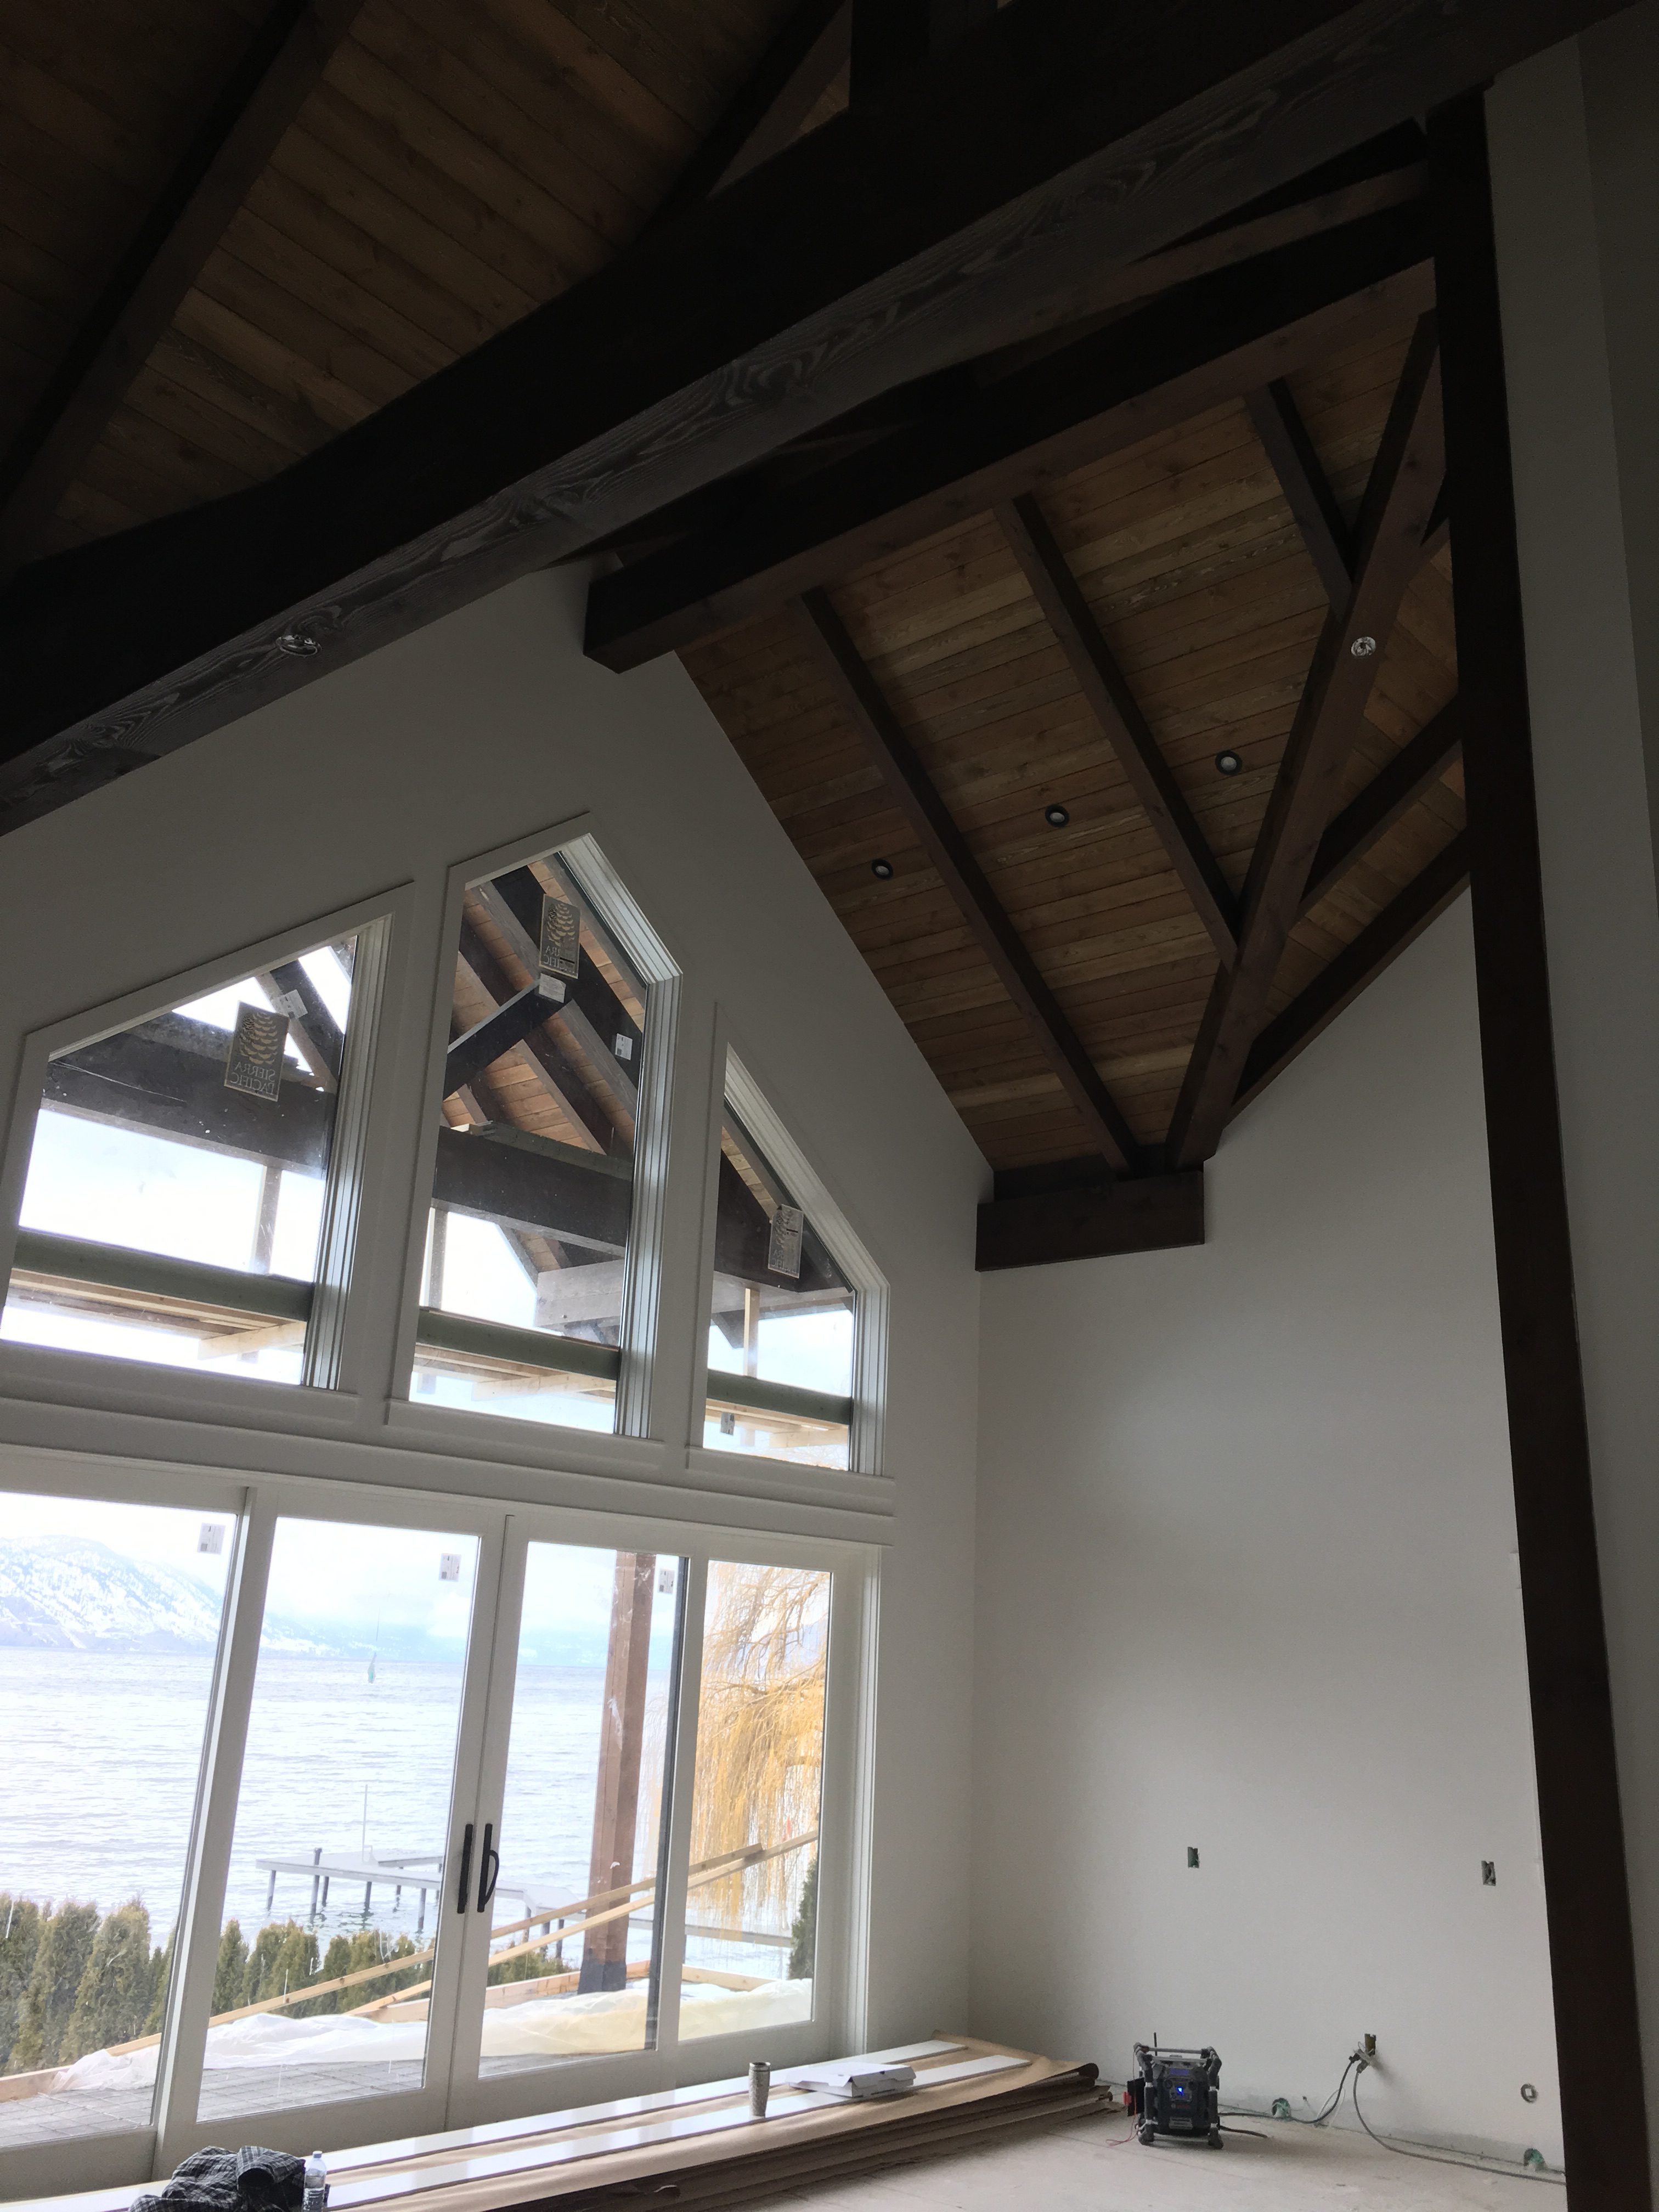
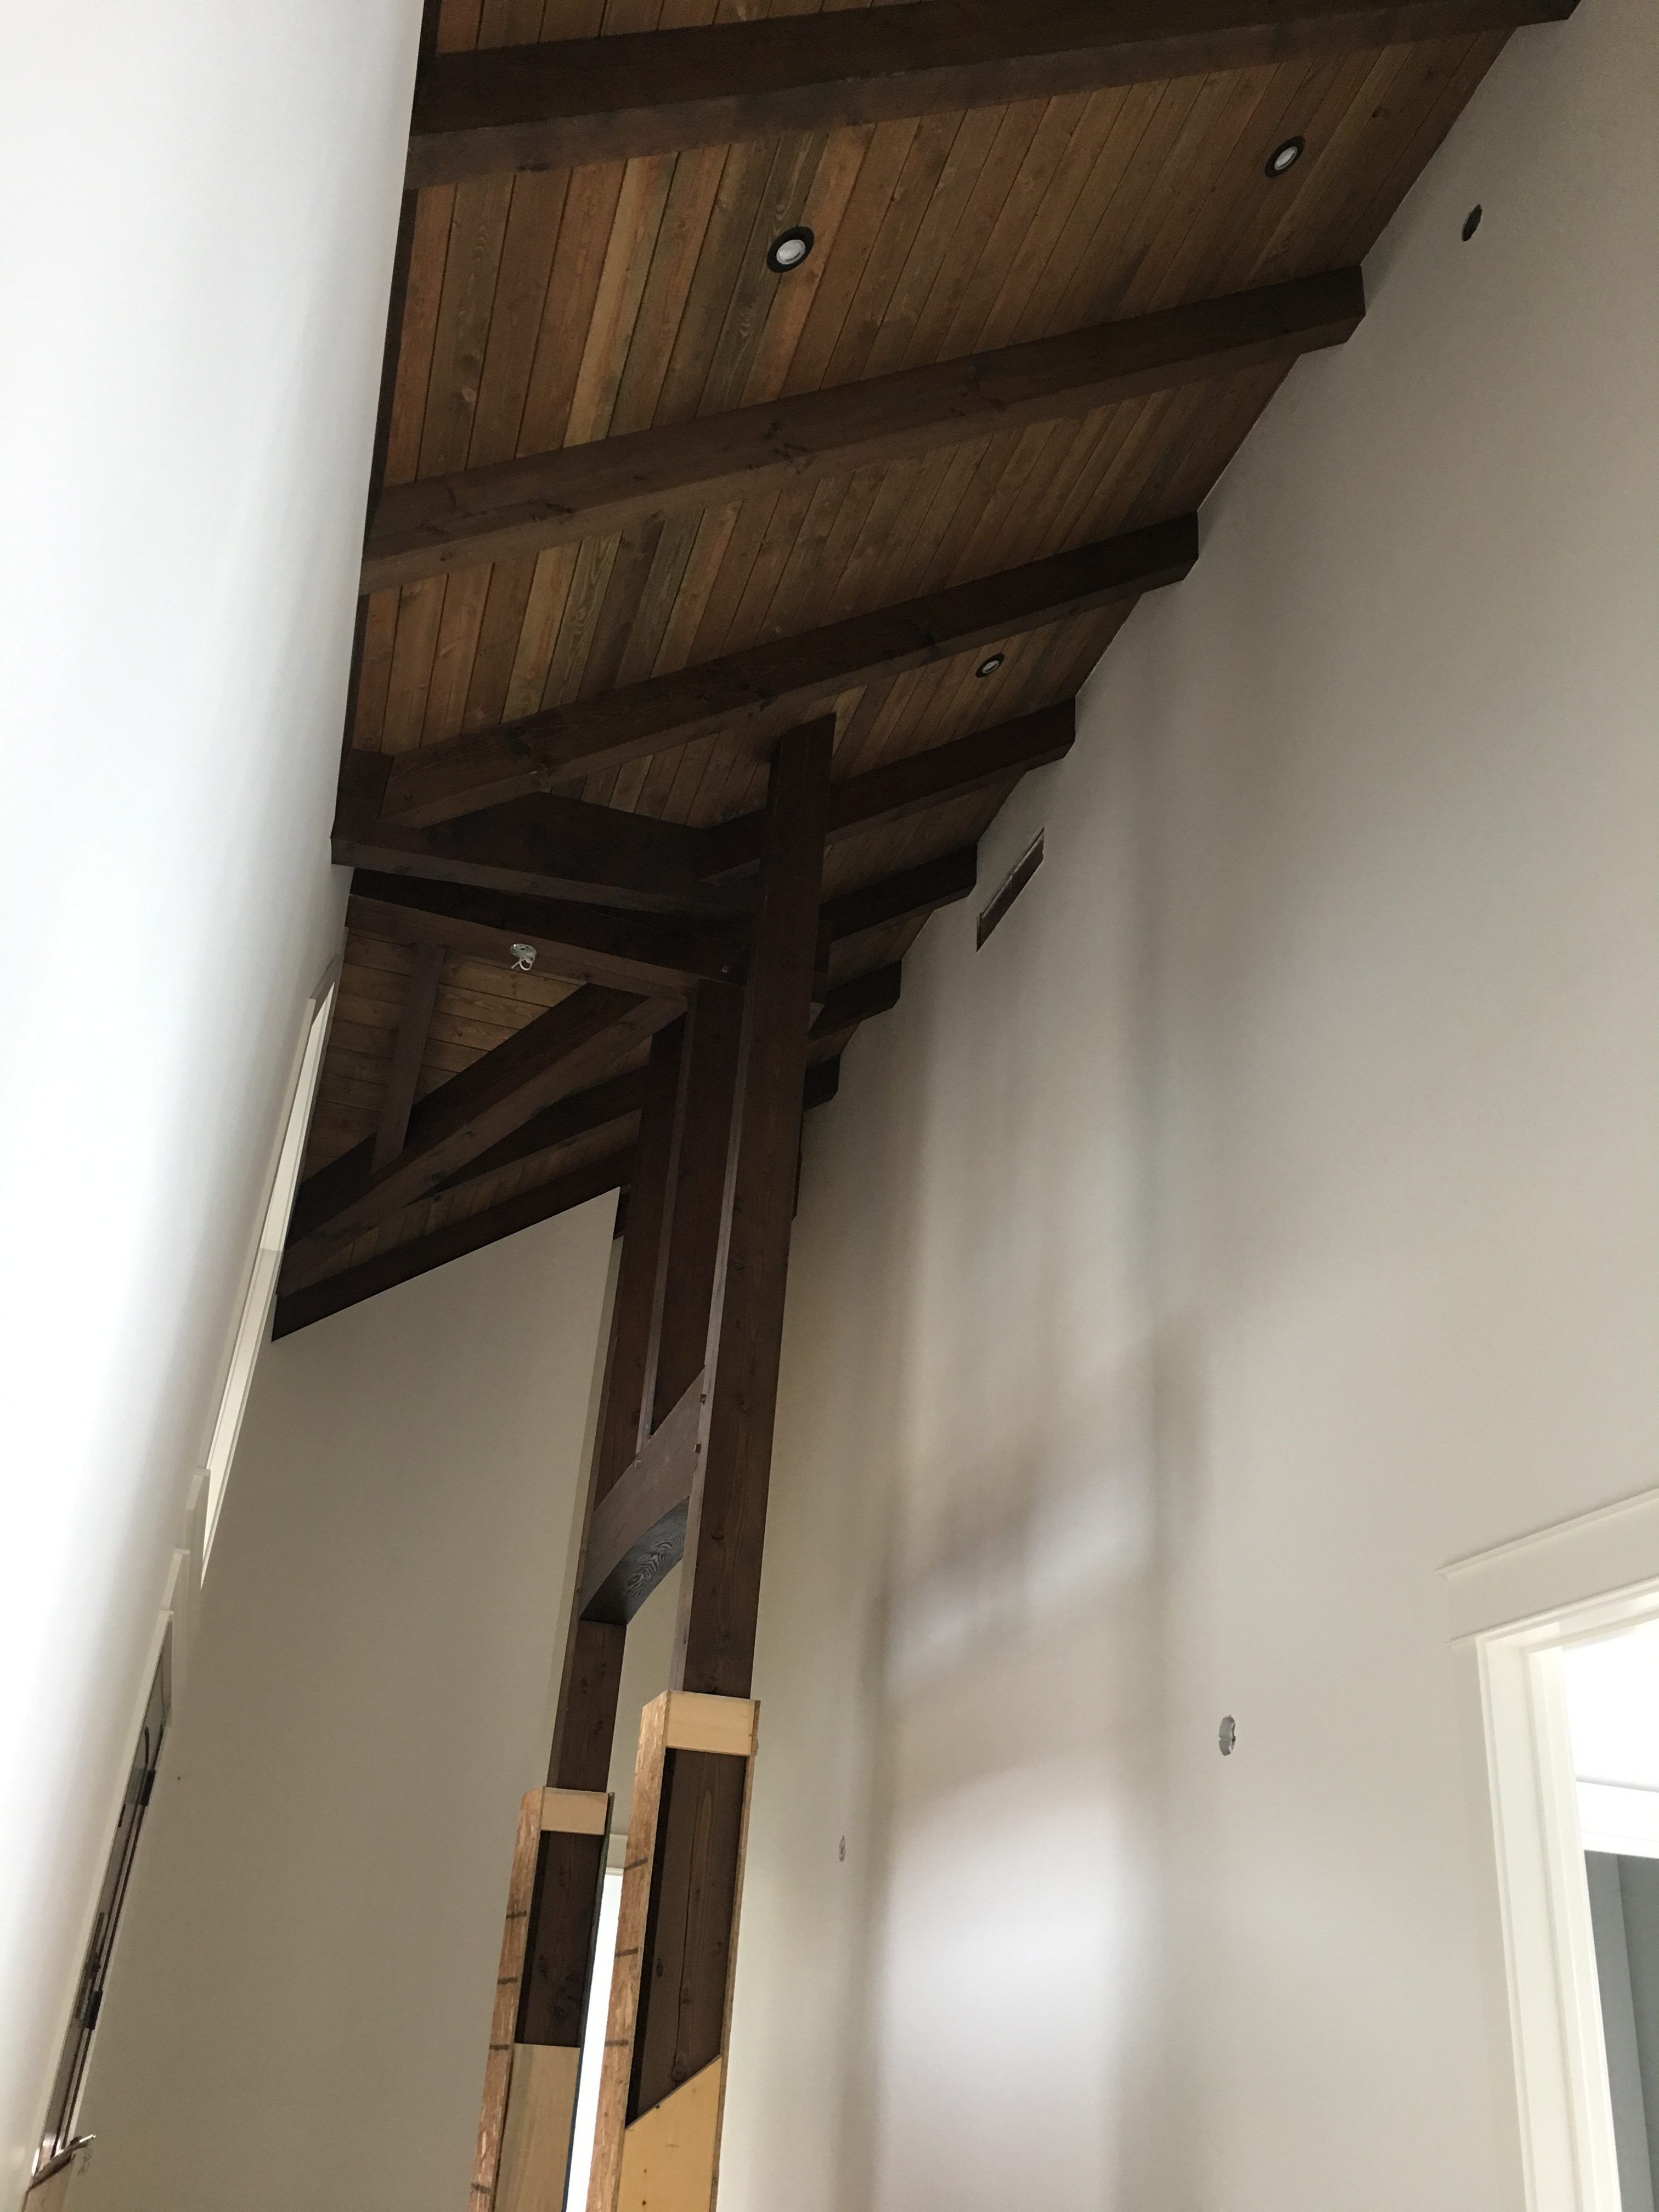
When Homestar Designs contacted us to take on a project over 350kms away in Naramata BC we jumped at the opportunity.  Naramata is known for its beautiful views of Lake Okanagan and extensive fields of grapes and wineries. As we usually only operate locally within the lower mainland, this was quite the distance to travel to complete the interior of this water front home including a wood ceiling and multiple interior wood beams.

Naramata, BC

This Naramata water front custom home was quite the job but we decided to move 4 of our crew up there for just under 2 weeks to get the interior completed. We worked non stop for 12 days to get the interior staining and painting complete but the end product was just what the homeowner had hoped for.


Interior Beams and Ceiling


Interior Beams and Ceiling


Wood Ceiling


There is still more to go before the project is finished and hopefully we will get to head back to the Okanagan this spring or early summer to complete the exterior of this home and see it at its full potential.

We will be sure to share some completed project photos and details when they are available.  To see more projects we’ve worked on, follow us on Facebook or Instagram.


Wood Furniture Refinishing.

Posted on:

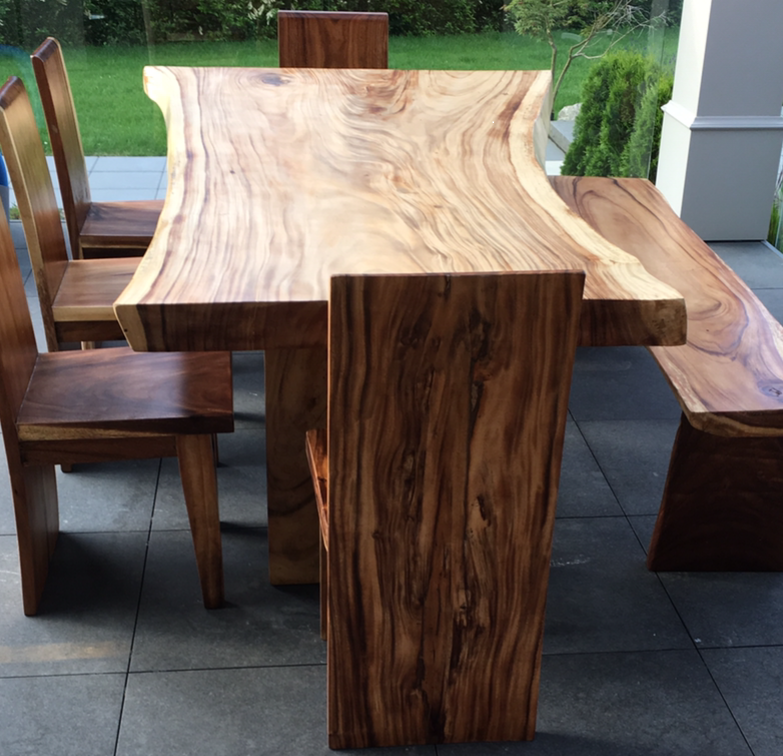
When one of our clients approached us about refinishing some one of a kind outdoor furniture we jumped at the opportunity. This solid wood set had been brought from over seas some time ago so we had to make sure we took the time and care to ensure it would come out perfect.


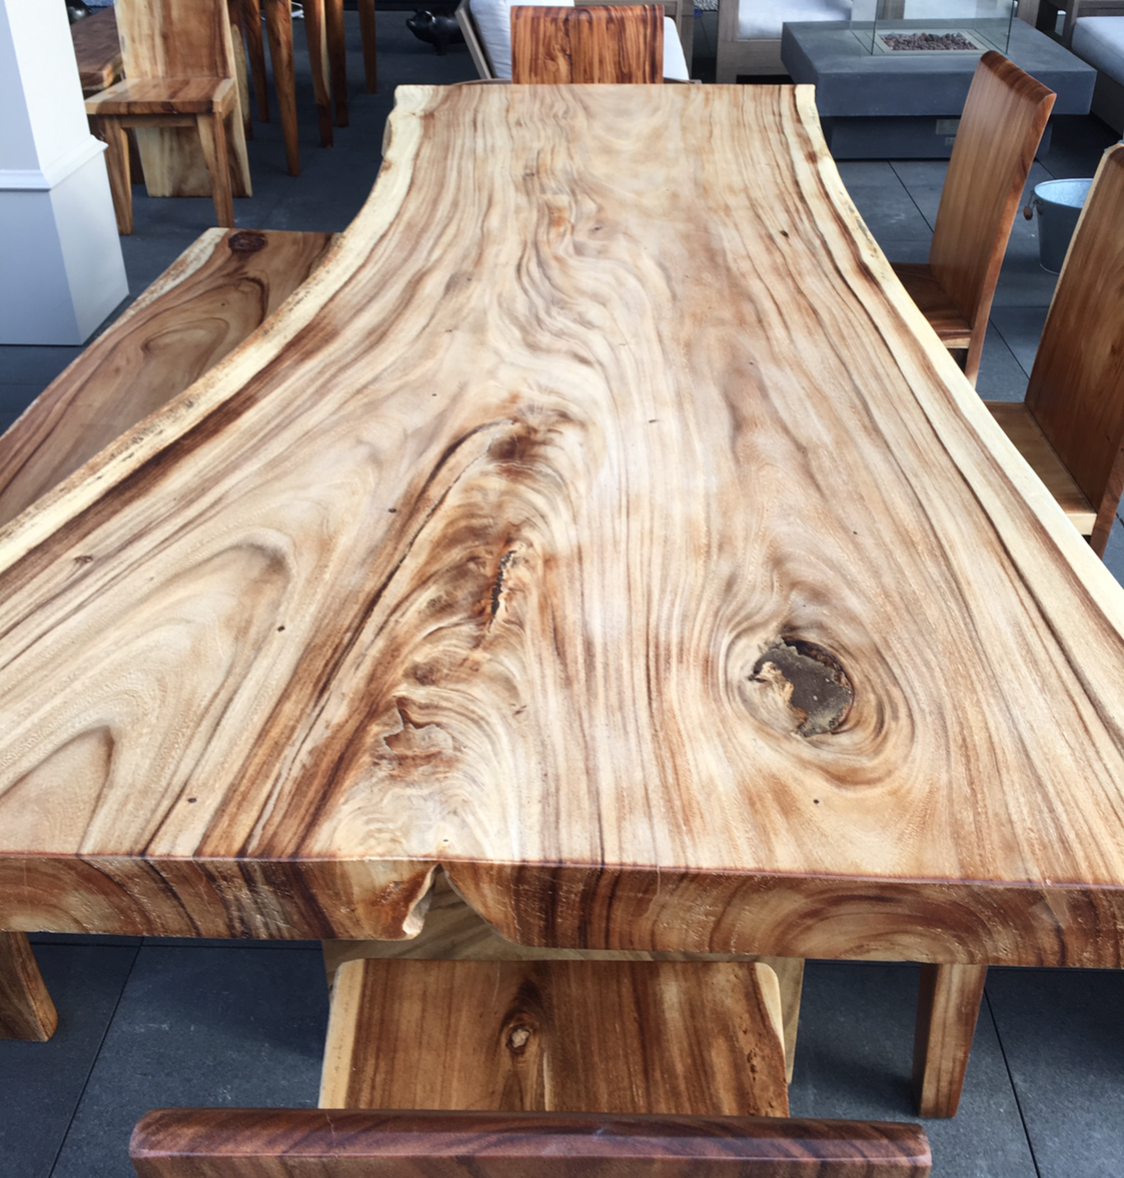
Dining Set After

Dining Set After

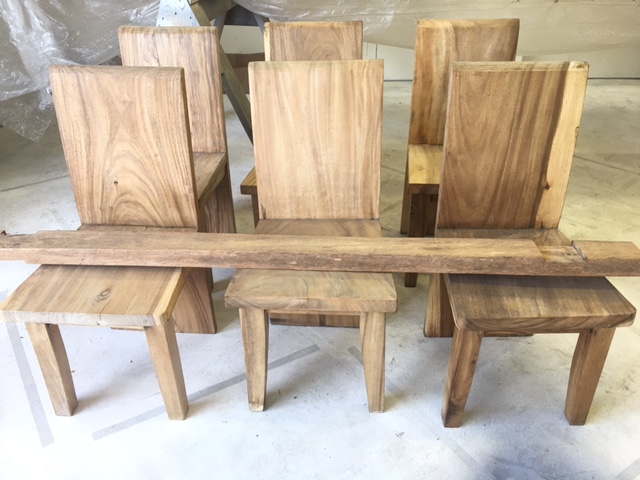
 We had done lots of wood furniture refinishing in the past but nothing like this.  As we were unsure of the exact wood type we had to do some testing with different methods to make sure the all over refurbishment was exactly what our clients were looking for.


Chairs Before

Chairs Before

Once we got all of the heavy pieces to our shop we were able to jump in.  The project started with us cleaning and stripping the original coating that was on the wood.  There was some mold under the original clear coat so we had to strip it and clean the wood before we could begin recolouring the pieces.  This took some time as we didn’t want to damage any of the unique shape and lines in the wood.  Once all the prep was done we were able to start bringing this furniture back to life and ready for use.


Table Top After

Table Top After

After many hours spent in the shop the set is now complete and we have to say that the finished product is exactly what we had hoped.  The new darker stain and clear sealer have made the pieces look that much better.  You can now see the variations in the natural wood and the character of the pieces seem so much stronger.  In all we would say that this wood furniture refinishing project was a great success.

Wood Rounds Before

Wood Rounds Before

Wood Rounds After

Wood Rounds After

At Domain Decorating we aren’t just your everyday interior and exterior painters. We have highly trained staff that are able to transform or update your home, furniture and many other projects. We have the knowledge and skill to take on many of your restoration and painting needs. To see more projects we’ve worked on follow us on Facebook.
For a free quote or to find out if we can help you with your home contact us and we’d be happy to help.

Paint to Help Sell Your Home

Posted on:

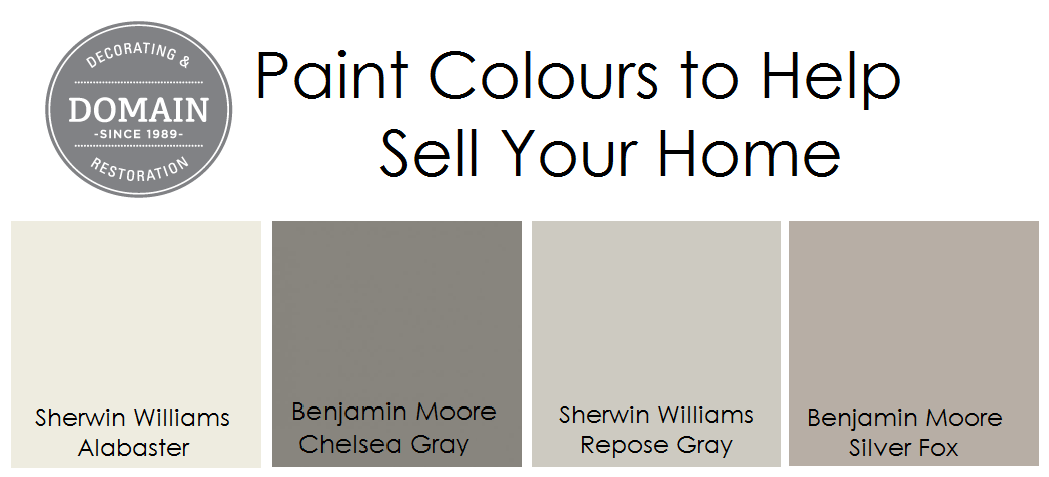
Paint Colours to Help Sell Your Home

With Spring fast approaching many of us are thinking about Spring cleaning and sprucing up our homes. Spring also means that many people are thinking it may be time to sell their home and painting is a great way to help prepare and maybe even sell quicker. There are so many options but today we are going to touch on paint to help sell your home.

Prospective buyers are often influenced my the way a home feels when they walk in or tour the rooms. We all know that you are supposed to look at the potential that a space has when looking to buy but subconsciously esthetics play a large role in many peoples decisions. Lets be honest first impressions are everything when looking to sell your home.

In general you should think about using neutral colours to make your space a canvas that buyers can work from when thinking about décor and how their belongings will fit into the home. Now we know that when people hear neutral they think of the lackluster whites and beige, but that’s not true. There are so many colour options that can become overwhelming but that why we are here to help.

Sherwin Williams – Alabaster

Alabaster is a white tone that was one of Sherwin Williams Colours of the Year for 2016.  This neutral is a great base colour to use when preparing your home to sell.  There is no blue undertones and it provides a warm and inviting feel. It pairs well with many other colours that can act as an accent in your space.


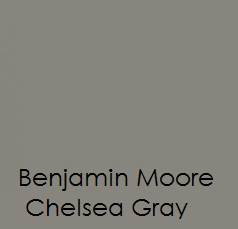
Benjamin Moore – Chelsea Gray


Chelsea Gray is the boldest of our colour picks.  We like this colour because it is versatile and pairs well with other greige tones that have been the rage in the last few years.  This Gray is bold and provides depth to any space.  It can be used as an accent wall colour or a whole room colour scheme if you aren’t afraid to be bold.


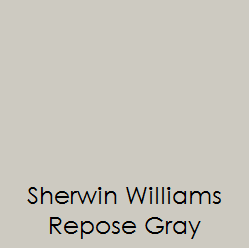
Sherwin Williams – Repose Gray


If you are looking for a soft gray with a beige or taupe undertone repose gray is a great choice.  It falls in the middle of the warmth spectrum not being warm but not cold.


Benjamin Moore – Silver Fox


Silver fox is another great colour.  It isn’t silver as the name may make you think. It is more of a gray beige that gives you that warm and cozy feel that everyone is looking for. This colour is a great pick if you looking to warm up your space.


Bedroom Paint Picks

Posted on:

. A Bedroom should be your oasis. A place where you go to rest and relax after a long day of work or running around with the kids. There are so many different ways to make your space warm and inviting but today we thought we’d touch on our top bedroom paint picks.

Bedroom Paint Picks

Domain Decorating’s Bedroom Paint Picks

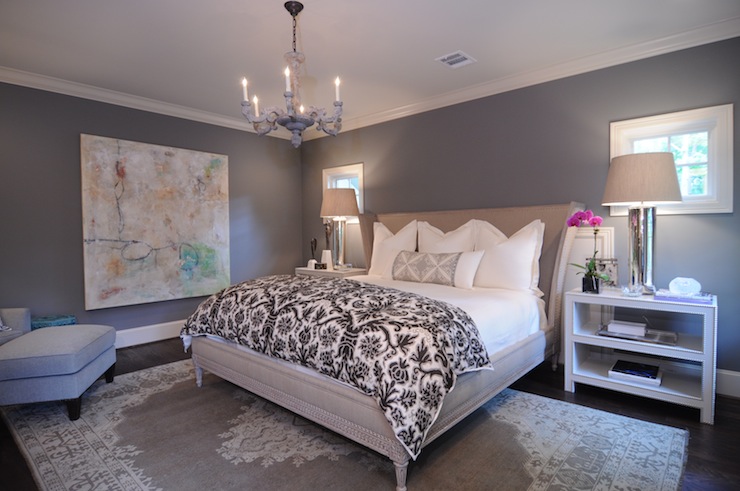
Chelsea Gray by Benjamin Moore is a great choice for a bedroom. It is a dark neutral that can be paired with many different accents and looks great with white trim and mouldings. This dark neutral can be very inviting and warm.


BM Chelsea Gray

BM Chelsea Gray

Image from Décor Pad

Benjamin Moore’s Smoke is another great choice for a bedroom. It brings a simple elegance making if one of our favourites on our top bedroom picks list. Paired with a white or silver a beautiful statement can be made.

BM Smoke

BM Smoke

Image from Homebunch

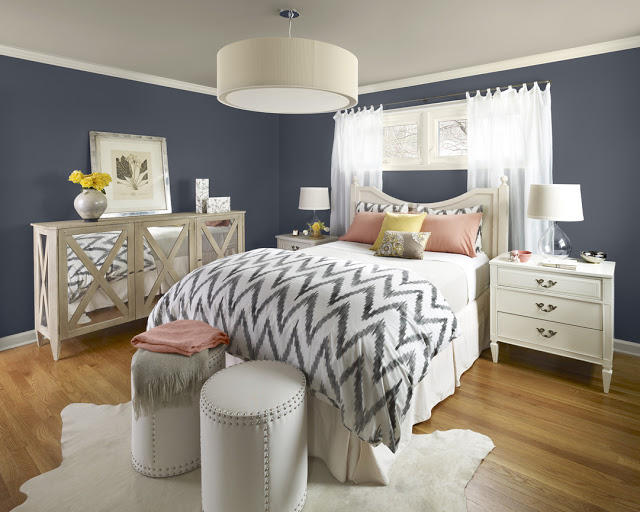
If you are looking for something more contemporary we like Benjamin Moore’s Evening Dove. This dark blue gives a crisp clean look and looks great with a variety of different accent colours.

BM Evening Dove

BM Evening Dove

Image from Deloreme Designs

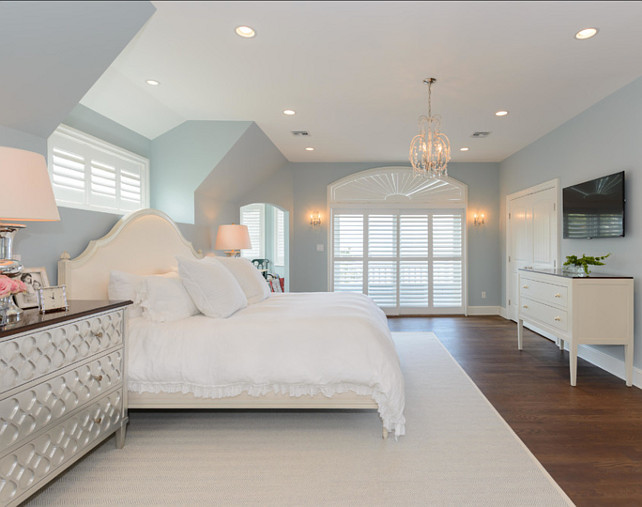
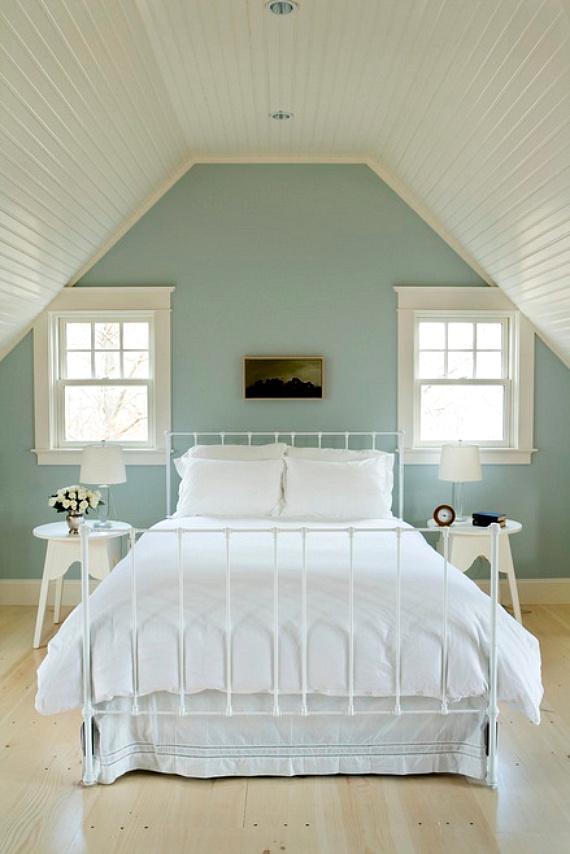
Tranquility is how Benjamin Moore describes our next bedroom paint pick. Quiet Moments is said to inspire quiet meditation and is a great colour selection if you’re looking to create an elegant soothing space.

BM Cool Moments

BM Cool Moments

Image from Laura Trevy

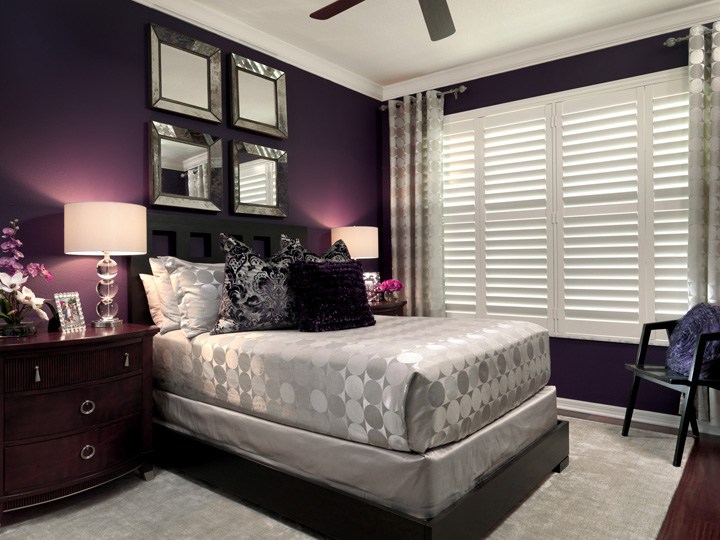
Dark Purple is a very glamourous colour. We love this for a master suite. Its dark tone provides a great sense of warmth especially for those cold winter nights.

BM Dark Purple

BM Dark Purple

Image from Kylie M Interiors

No matter your style or colour preference the options are endless.  Here at Domain Decorating we are here to help your vision come to life.  We offer one on one service to help you select the perfect colour for your space.  Contact us today for a free quote.

For more design ideas or colour tips follow up on Instagram or like us on Facebook.


Cabinetry Paint Colours.

Posted on:


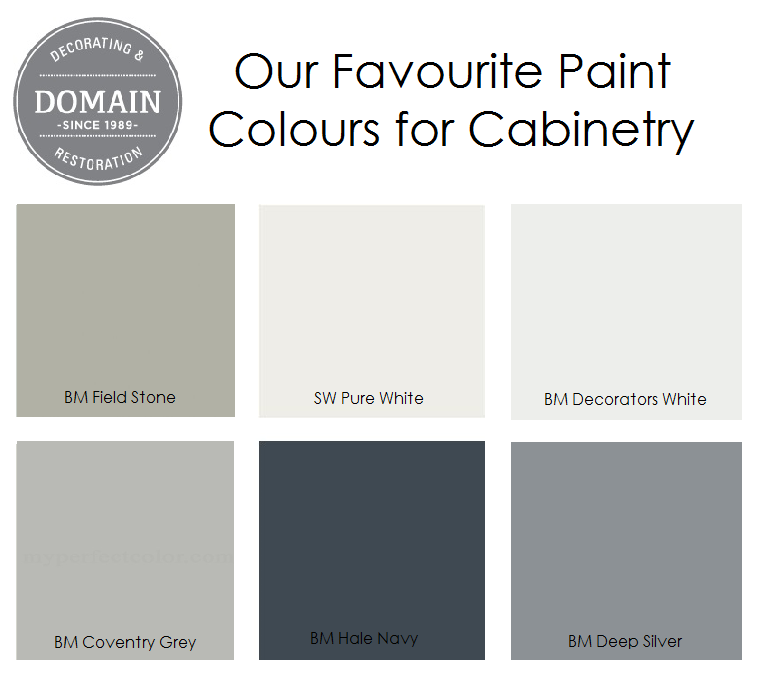
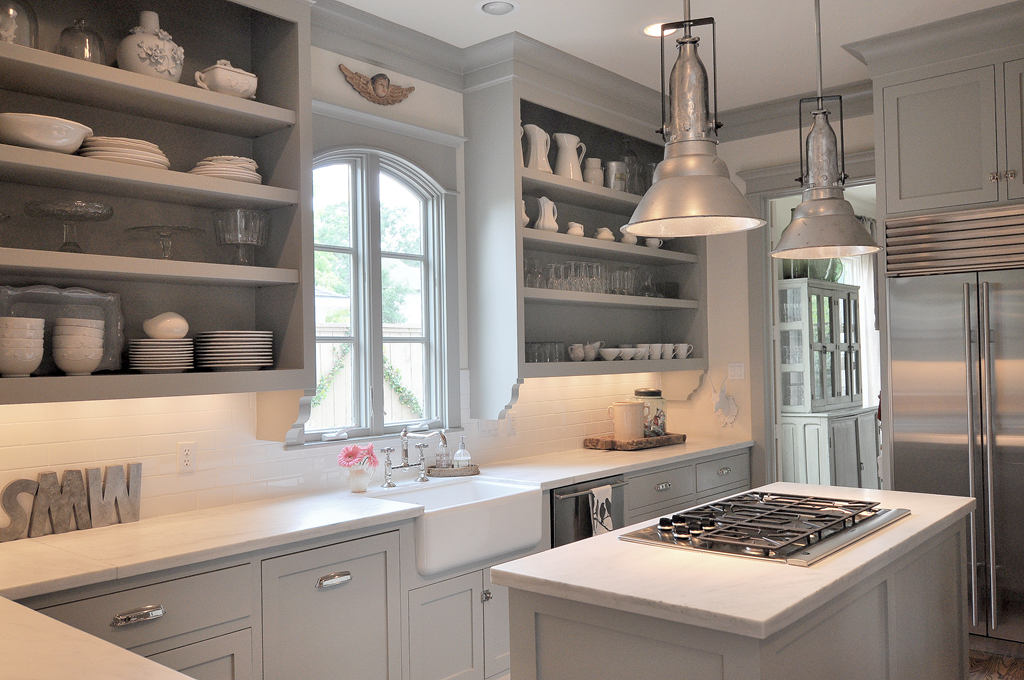
Painted cabinetry has become very popular when renovating or updating homes.  We have compiled a list our favourite cabinetry paint colours with many different options depending on your individual preference.

CabinetryPaint Colours

Cabinetry Favourites

Choosing a basic white can be a very daunting task as there are so many shades and undertones to choose from.  Two of our favourite whites are Sherwin Williams Pure White and Benjamin Moores Decorators White. Pure White is softer with more of a beige undertone whereas Decorators White is more contemporary.

CabinetryPaint Colours

Sherwin Williams Pure White

Photo From Linda McDougald Design

CabinetryPaint Colours

Benjamin Moore Decorators White

Photo From Boston Magazine

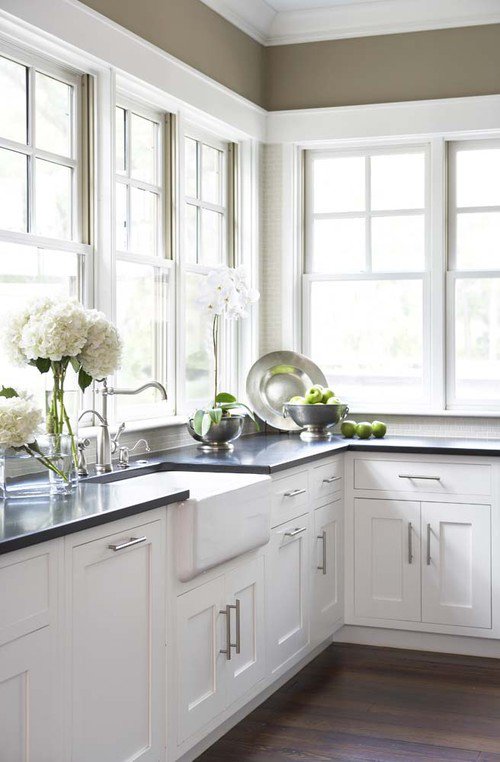
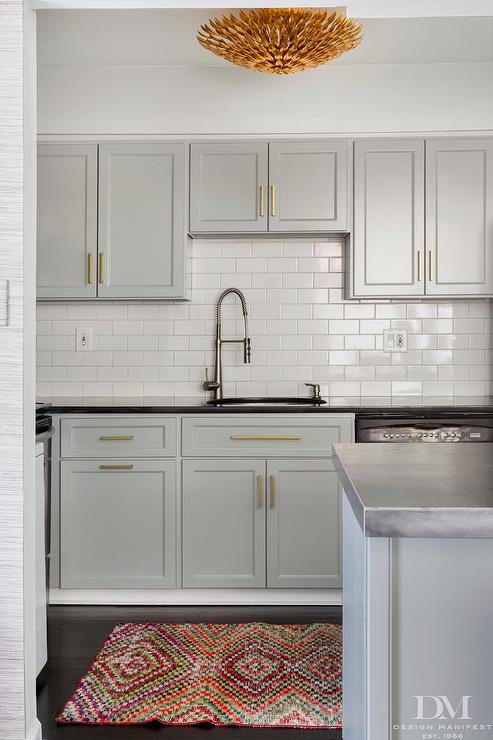
The use of the grey and beige has also transitioned into painted cabinetry selections with two of our favourites being Benjamin Moores Field Stone and Coventry Grey.  Field stone is more of a warm beige grey whereas Coventry Grey has a cooler colour base but both look great when accented with whites and stainless fixtures.

CabinetryPaint Colours

Benjamin Moore Field Stone

Photo From Cote de Texas

CabinetryPaint Colours

Benjamin Moore Coventry Grey

Photo From Design Manifest

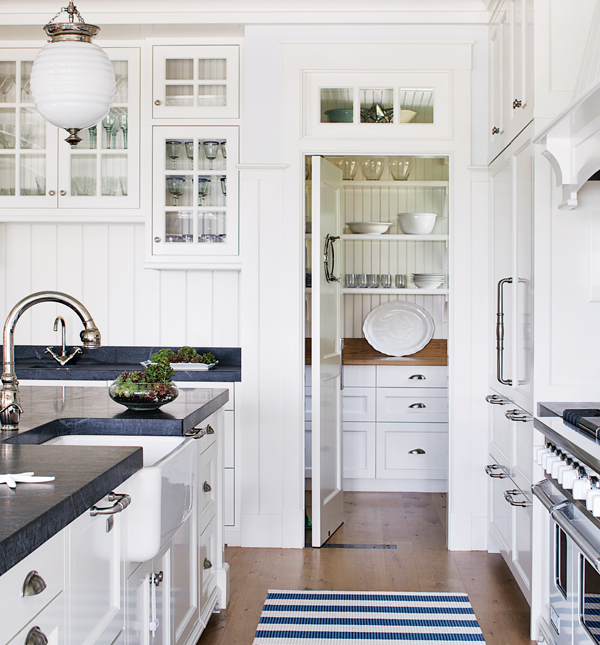
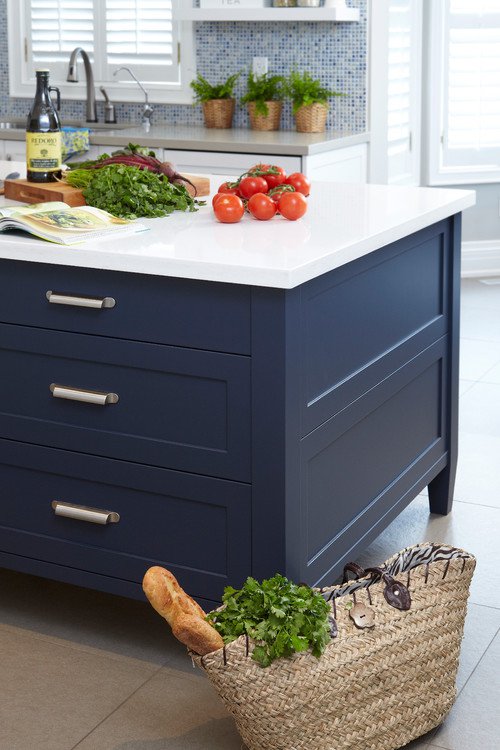
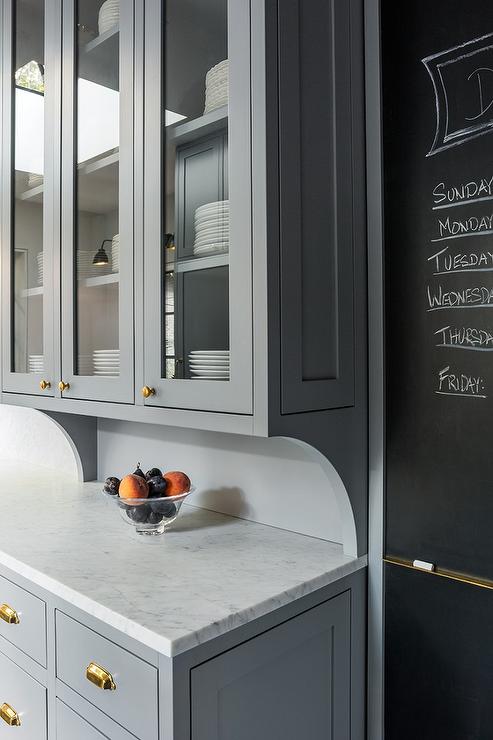
If you are looking for something darker or more rich in colour, we suggest Benjamin Moores Hale Navy or Deep Silver.  Navy has been making a comeback in décor and home updates and its a great colour choice.  If your not sure try painting a bathroom vanity or just your island this colour it looks great as a statement or accent colour.

CabinetryPaint Colours

Benjamin Moore Hale Navy

Photo From Sealy Design

CabinetryPaint Colours

Benjamin Moore Deep Silver

Photo From Gerry Smith Architect

There are so many different cabinetry paint colours available but these are just a few that we’ve chosen to highlight.

Paint vs. Stain on Wooden Decks

Posted on:

With summer quickly approaching and the good weather making more frequent appearances many people are starting to think about refreshing an old wooden deck or maybe even building a new one.

There are many things to think about when deciding to use paint vs. stain on wooden decks. Wood has many great features and characteristics making it a favourite for many opting to build a deck. As there are so many different things to consider we thought we’d help you out by highlighting the pro and cons of each method.

Leaving your deck unfinished is an option with certain types of woods but generally we suggest applying a sealer, stain or even paint to protect your surface. Unfinished surfaces tend to crack, warp and even rot earlier than if the wood had been protected. Spending a little more money early on can save you lots in repairs and maintenance in the future.

Painting Your Deck:

Pros

  • Paint gives you many different colour options and can thoroughly cover old colours if the deck has been painted in the past.
  • Depending on the finish and colour of the paint, it may make it easier to clean the deck. (Light coloured paints are going to be more difficult to maintain)
  • If there are any imperfections in the wood paint can mask this and fill any grooves as it is often thicker than stains and sealers.
  • If you’ve had to add new boards paint will hide them as though they were never replaced.

Cons

  • Once you choose to paint your deck it’s very hard to undo that decision without labour intensive work so be sure that paint is what you want before putting on that first coat.
  • Paint will hide the natural characteristics of the wood. We often choose wood for its natural beauty and paint will hide this.
  • Painted surfaces often become slippery when wet especially if glossy or semi-gloss paint is used so be aware of the finish you choose.
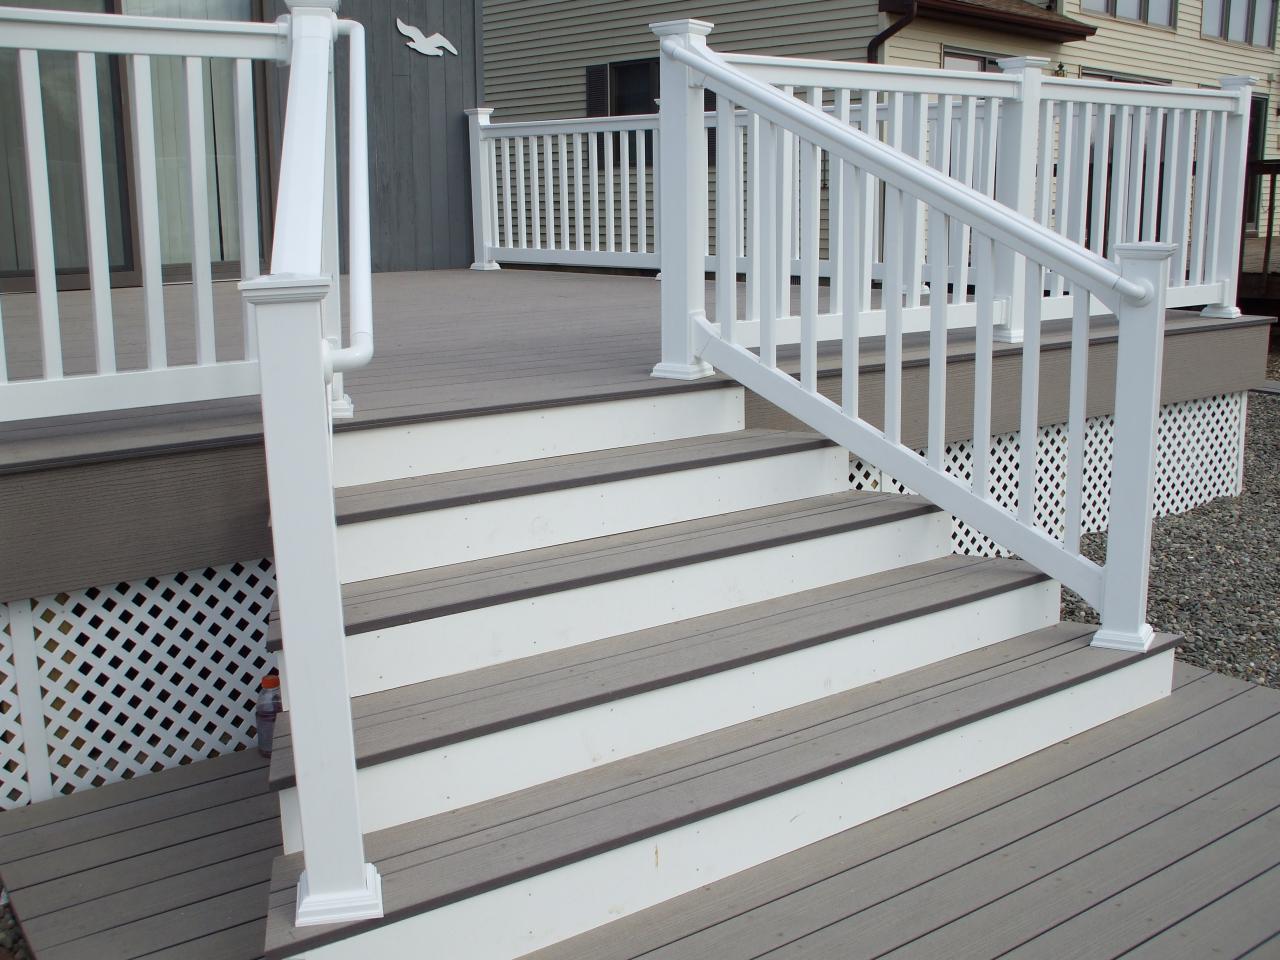
Painted Deck - Image from http://davidjfestacarpentry.com

Painted Deck – Image from: http://davidjfestacarpentry.com

Staining / Sealing Your Deck

Pros

  • Stain maintains the natural beauty of the wood
  • Stain creates a less slippery surface than paint
  • The application of stain is often easier as it is thinner than many paints and is more forgiving if you are to miss a section. In general stain is easier to work with in this type of application.

Cons

  • Paint will often stand up longer thus stain requires more frequent reapplications.
  • If you’re looking to hide any imperfections stain will not often do so as it enhances the colour of the wood versus hiding it. (What is a pro can also be a con depending on what you are looking for)
  • You have to be careful with your colour selection and application of stain. If you have replaced some board and are using a light colour you will see the colour variation clearly.   As well, you need to be careful when first staining the crevices because if too much stain gets on the top surface the colour along the edges will darken.
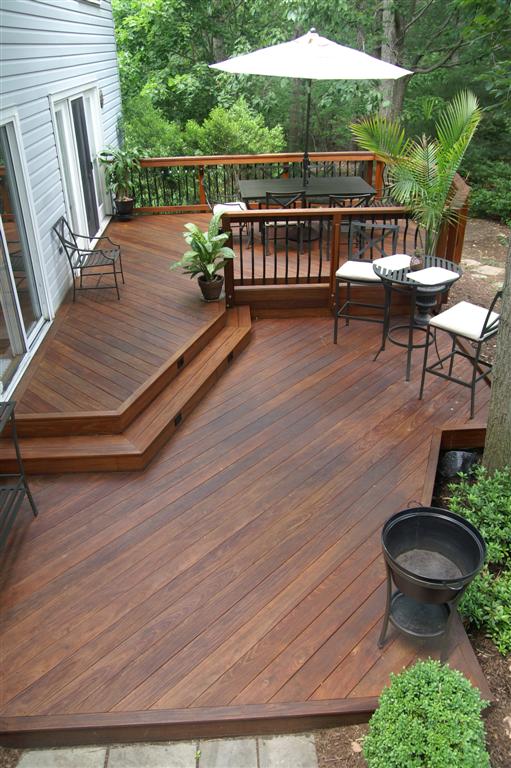
Stained Deck - Image from: http://members.nadra.org

Stained Deck – Image from: http://members.nadra.org

As you can see both options have some great characteristics. When choosing between paint and stain you need to look at your needs and what suits your outdoor space the best.

At Domain Decorating we love the natural beauty of wood and often look to enhance it using stains and sealer but paint is another great option depending on your needs.

We are always here to help no matter your painting needs so feel free to contact us if you are looking to update your outdoor living space and want to leave the work to the professionals.

2016 Exterior Home Colour Picks

Posted on:

There is some beautiful weather out there and it appears that spring has arrived. This means that exterior painting season is upon us. We already have a list of homes waiting on us and more requests are flooding in daily which is great!

Since we’re already getting into the swing of things we’ve done some sourcing to find some great colour combinations and trends for this year that are sure to impress. Here are our 2016 Exterior Home Colour Picks.


Beige

Here is a simple yet classic beige exterior. Theses colour combinations are timeless and make a great choice for many different styles of homes. This photo is from www.vissbiz.com. Colour selections from Sherwin Williams “Color Snap”

grey

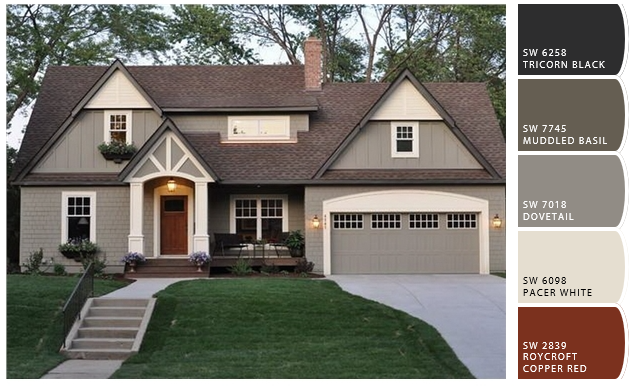
If you are looking for something more crisp and modern a great grey and white combination is a good choice. The image we have here pairs grey with pops of red and navy blue which are on trend for this year. Image from www.colorworldhousepainting.com

navy

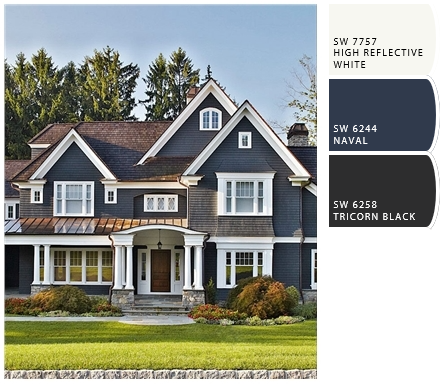
Navy blue is always a classic option. Paired with a crisp white the contrasting accents are a great feature. This photo is from www.11magnolialane.com. Colour selections from Sherwin Williams “Color Snap”

red

Red and creamy yellow or even a soft white are another beautiful combination if you are looking to make a statement on a classically styled home. Colour selections from Sherwin Williams “Color Snap”

yellow

Yellow is a way to brighten up your home. It has been making a comeback in the past few years making it another top contender for traditionally styled homes. Image from www.colorworldhousepainting.com


No matter your preference, now is the time to start thinking about the exterior of your home. You can start prepping and getting ready for paint which will make the process go much more smoothly. Stay tuned for our next blog about how to ready the exterior of your home for paint.

If you have any questions don’t hesitate to contact us we’d be happy to help or provide you a free quote.

Professional Cabinetry Painting

Posted on:

Have you ever wanted to update your kitchen or bathroom but it wasn’t in the budget to replace all the cabinetry?

 
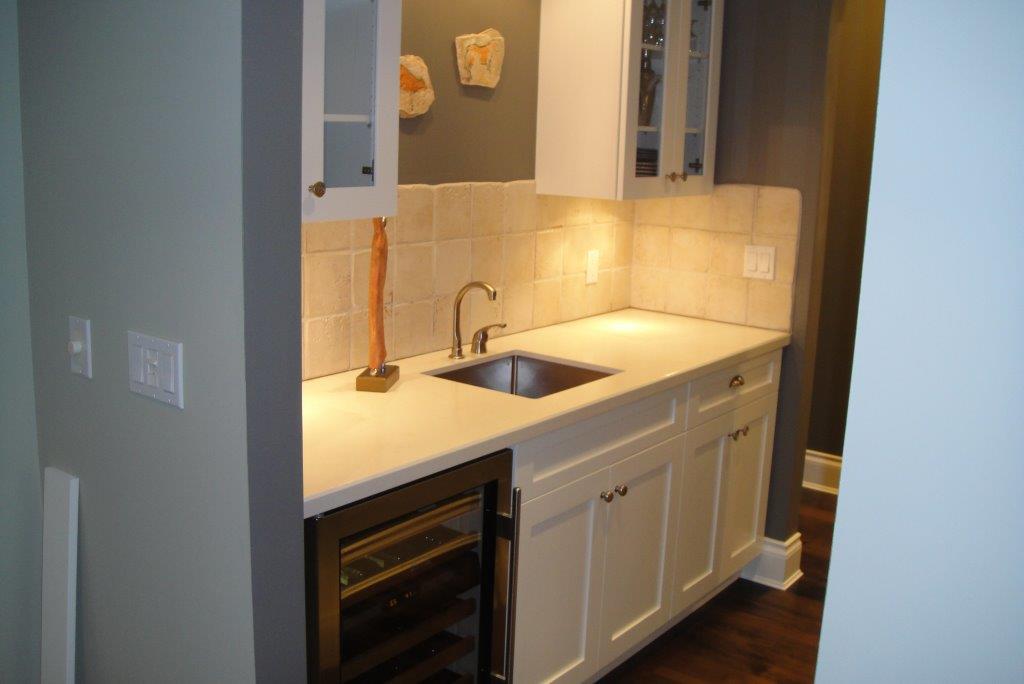
At Domain Decorating we can help you find a more cost effective way to update your space with our professional cabinetry painting services. Recently we refinished a kitchen and butler’s pantry in a client’s home. The finished product was great and the homeowner saved thousands by painting his cabinets instead of having them replaced.

 
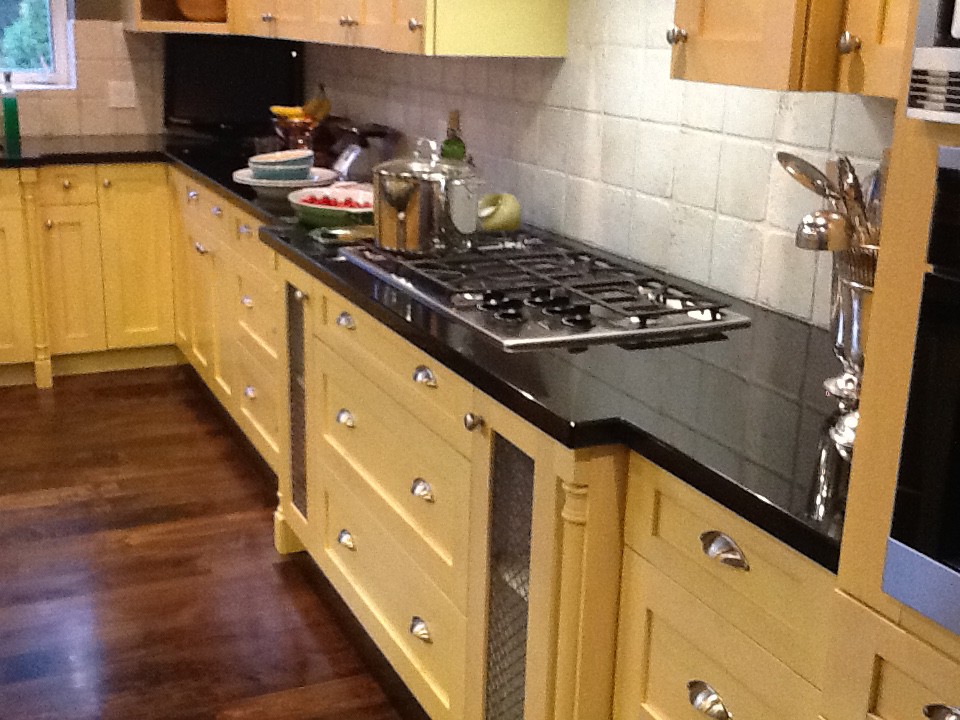
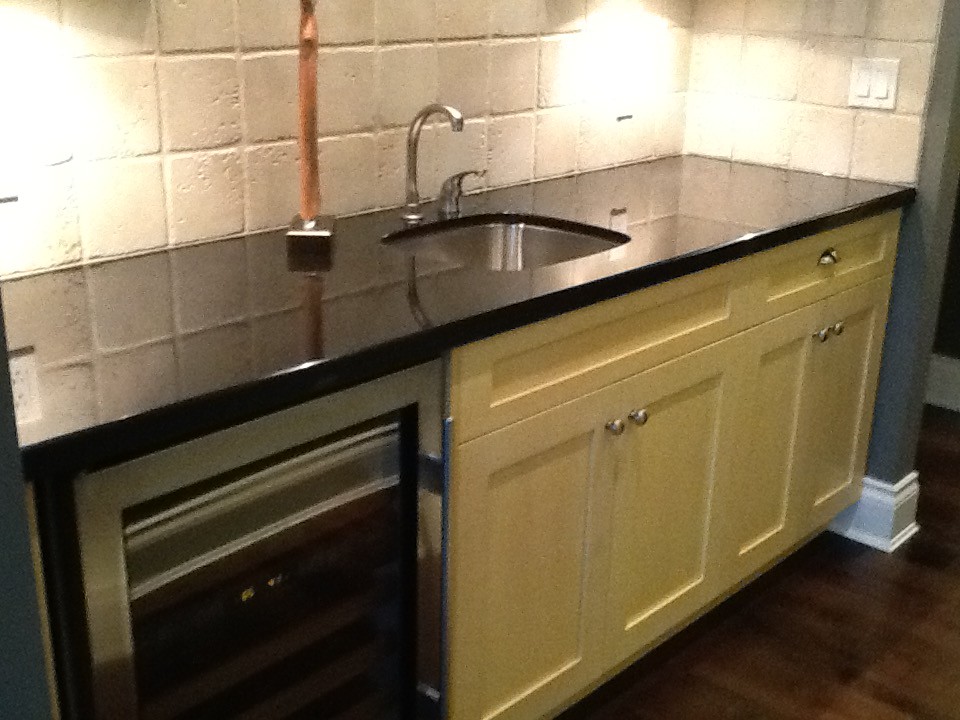
Here are some photos of what the space looked like before our team arrived.

Cabinetry – Before

Cabinetry – Before


When our team arrived on site all of the hardware and doors were removed and taken to our shop. At our shop we prepped each panel removing the existing paint. When the doors were ready we sprayed them leaving them with a perfect custom finish in a colour selected by the homeowner.

 
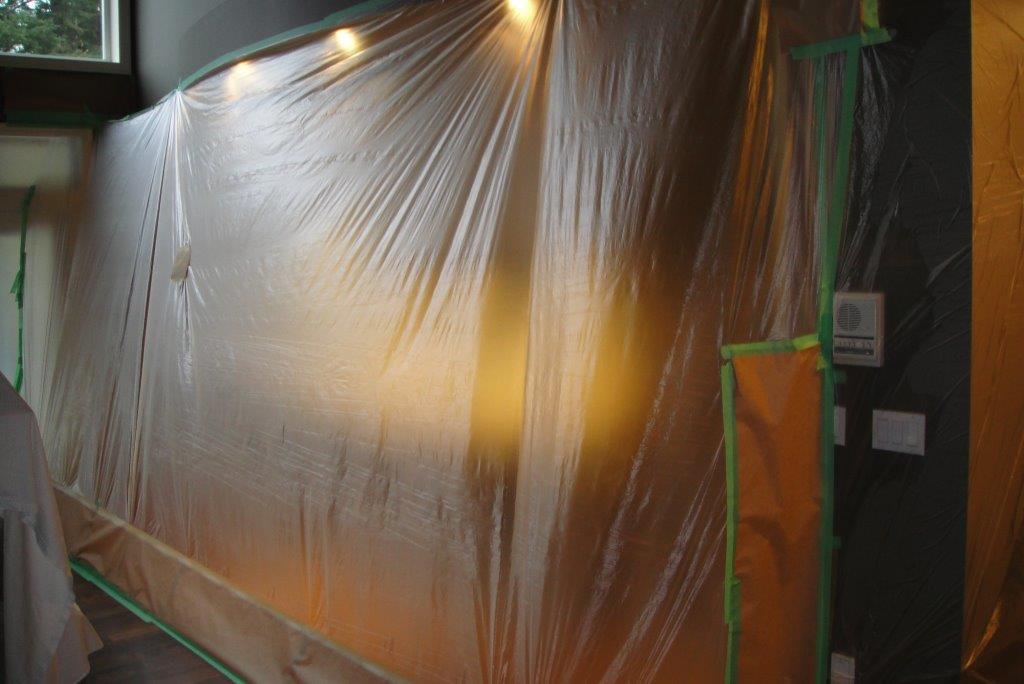
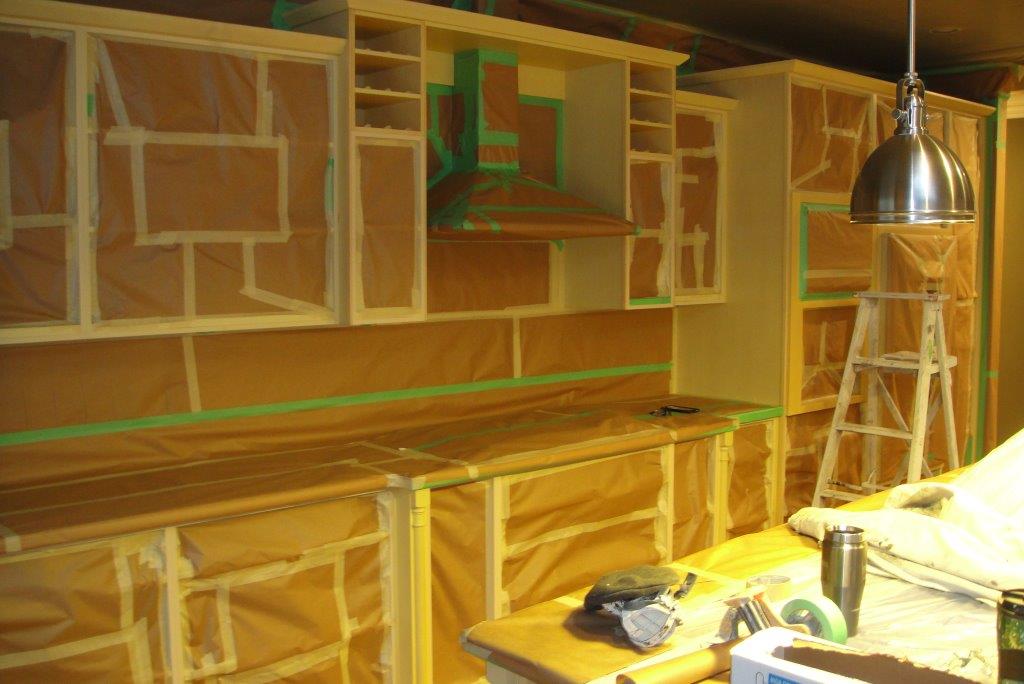
On site our crew masked off the entire kitchen covering every surface that did not require any paint. We also set up an onsite spray booth to ensure paint did not travel to any other room or surface in the house.

 
Here is what the home looked like before we sprayed the existing cabinet boxes and island.

Cabinetry – During

Cabinetry – During


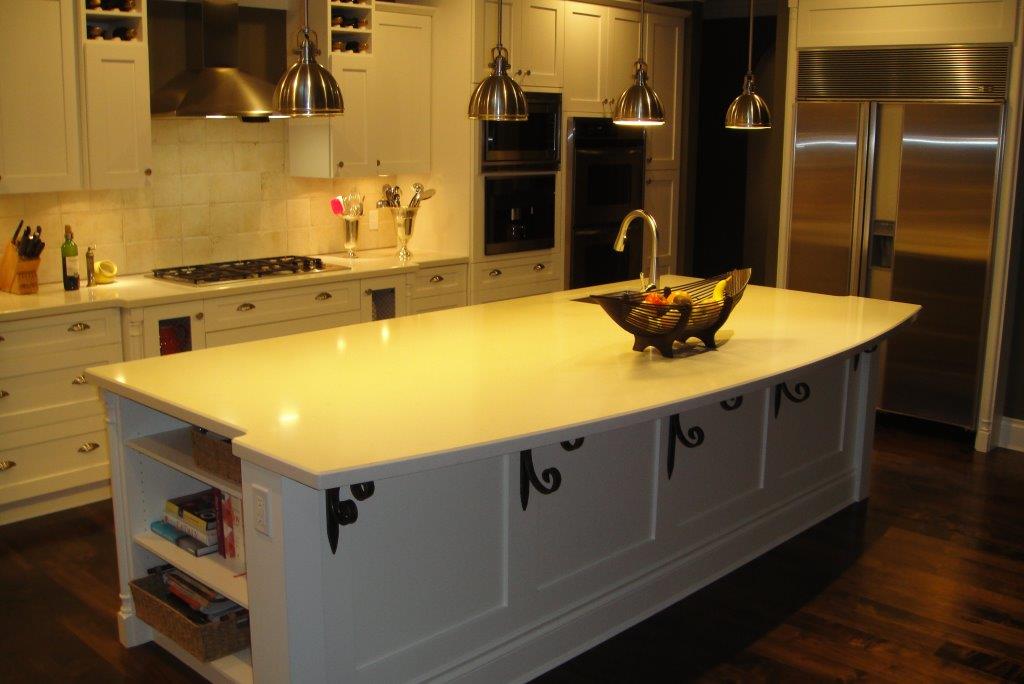
Finally we prepped and sprayed the onsite cabinetry. When everything had dried we removed all the masking and plastic and here is the finished product. There is no trace of our crew having ever been on site other than the beautifully updated cabinetry colours.

Cabinetry – Finished

Cabinetry – Finished


At Domain Decorating we aren’t just your everyday interior and exterior painters. We have highly trained staff that are able to transform your space in so many ways. We have the knowledge and skill to take on many of your restoration and painting needs. To see more projects we’ve worked on follow us on Facebook.

 
For a free quote or to find out if we can help you with your home contact us and we’d be happy to help.

Accent Wall Ideas

Posted on: 8 Comments

Accent walls are an easy way to add colour or visual intrigue to a room without over powering the space. They allow you to experiment with bold colours and textures.

An accent wall can be used to highlight an architectural feature, define a space in an open concept plan, create a focal point in a room at a fireplace or shelf, and can be used to highlight a piece of artwork.  When you walk into a room the accent wall will command the eye and bring your attention to that space.

We suggest picking an accent colour from fabrics or art pieces in the room. You can choose your favourite colour from a throw pillow or art print. You can also choose a colour that will help transition from one space to the next in your home. An accent wall can be used as a way to create flow between different rooms and colour palates used in each.

Here are some different accent wall ideas that we’ve put together .

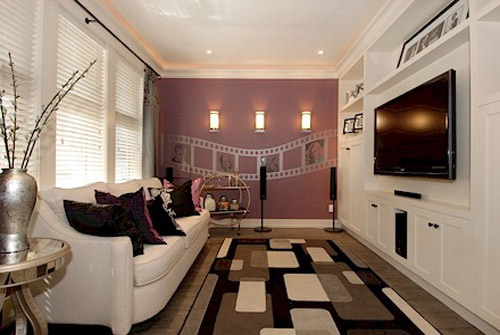
Solid Colours
media_room_2009

Vibrant colours will make a bold statement, whereas darker colours will create a more dramatic and mature effect. If you are looking for something more subtle you can use a deeper shade of the colour used in the rest of the space. This will break up the space without drawing as much attention. {photo from Beyond Clutter Designs}

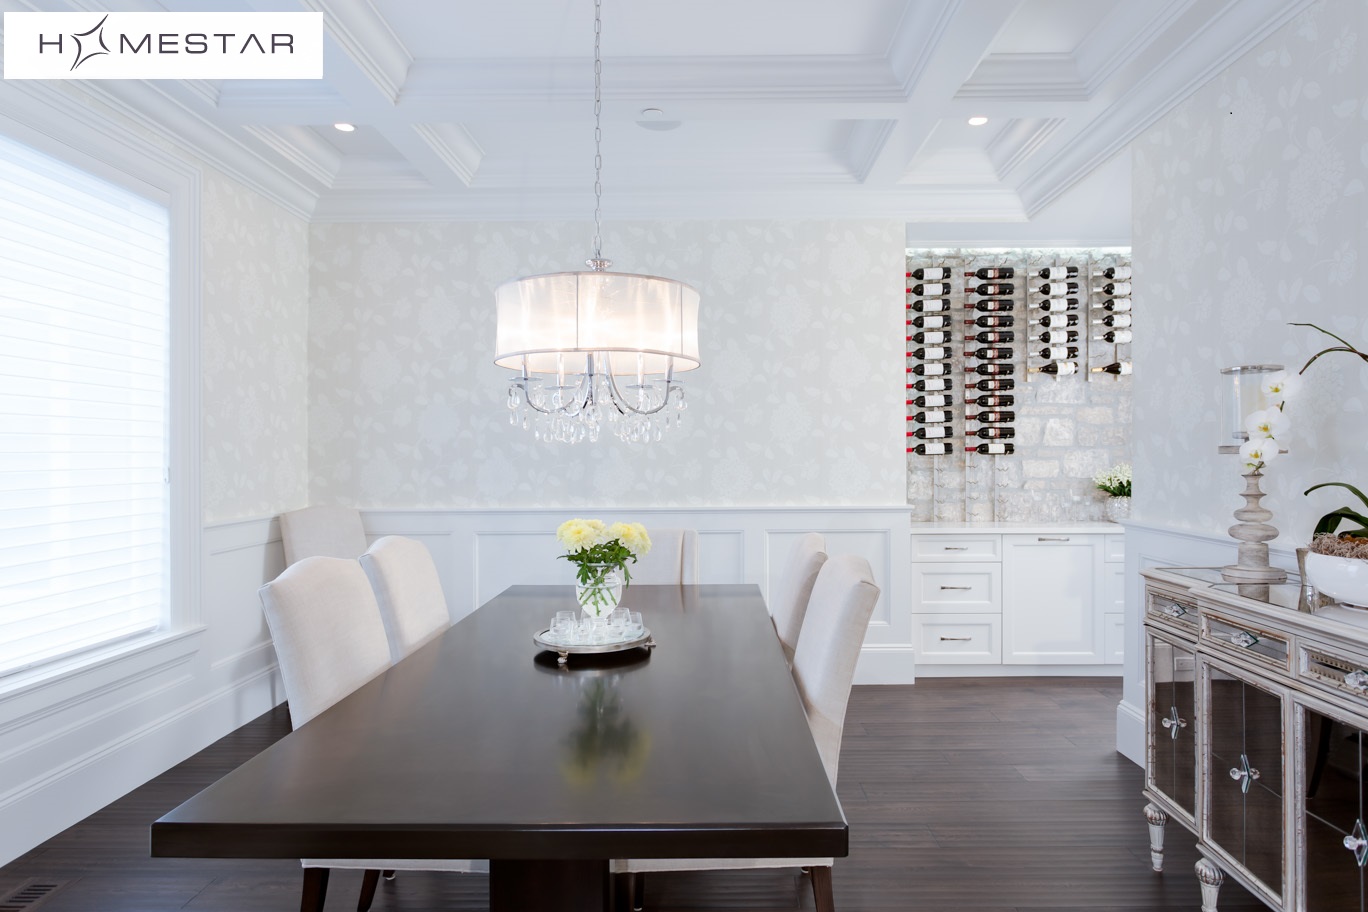
Wallpaper
Homestar - High Point Lot 37 (2)

Wallpaper will allow you to add more texture and print into a space. There are many different choices and you are sure to find something that will suite your home.

Colour Blocking

You can add an accent wall using colour blocking or multiple colours. You could add a striped wall or try something more geometric like a chevron pattern. Depending on the style of your home there are many different ways you can accent a wall with multiple colours or shades.

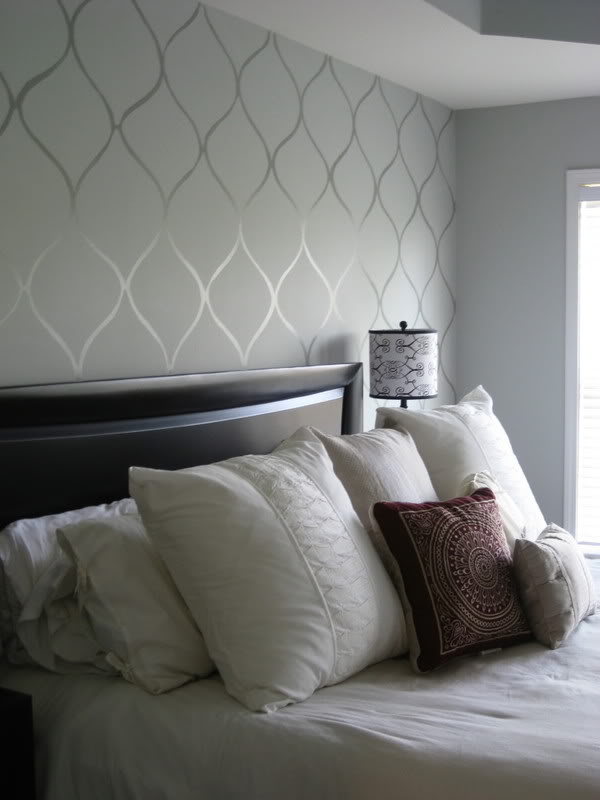
Faux Wallpaper
faux

Many people have accented a wall using a stencil and a combination of different paint sheens making a faux wallpaper appearance that is subtle but also has quite the impact. {photo found on kfdesigns.com}

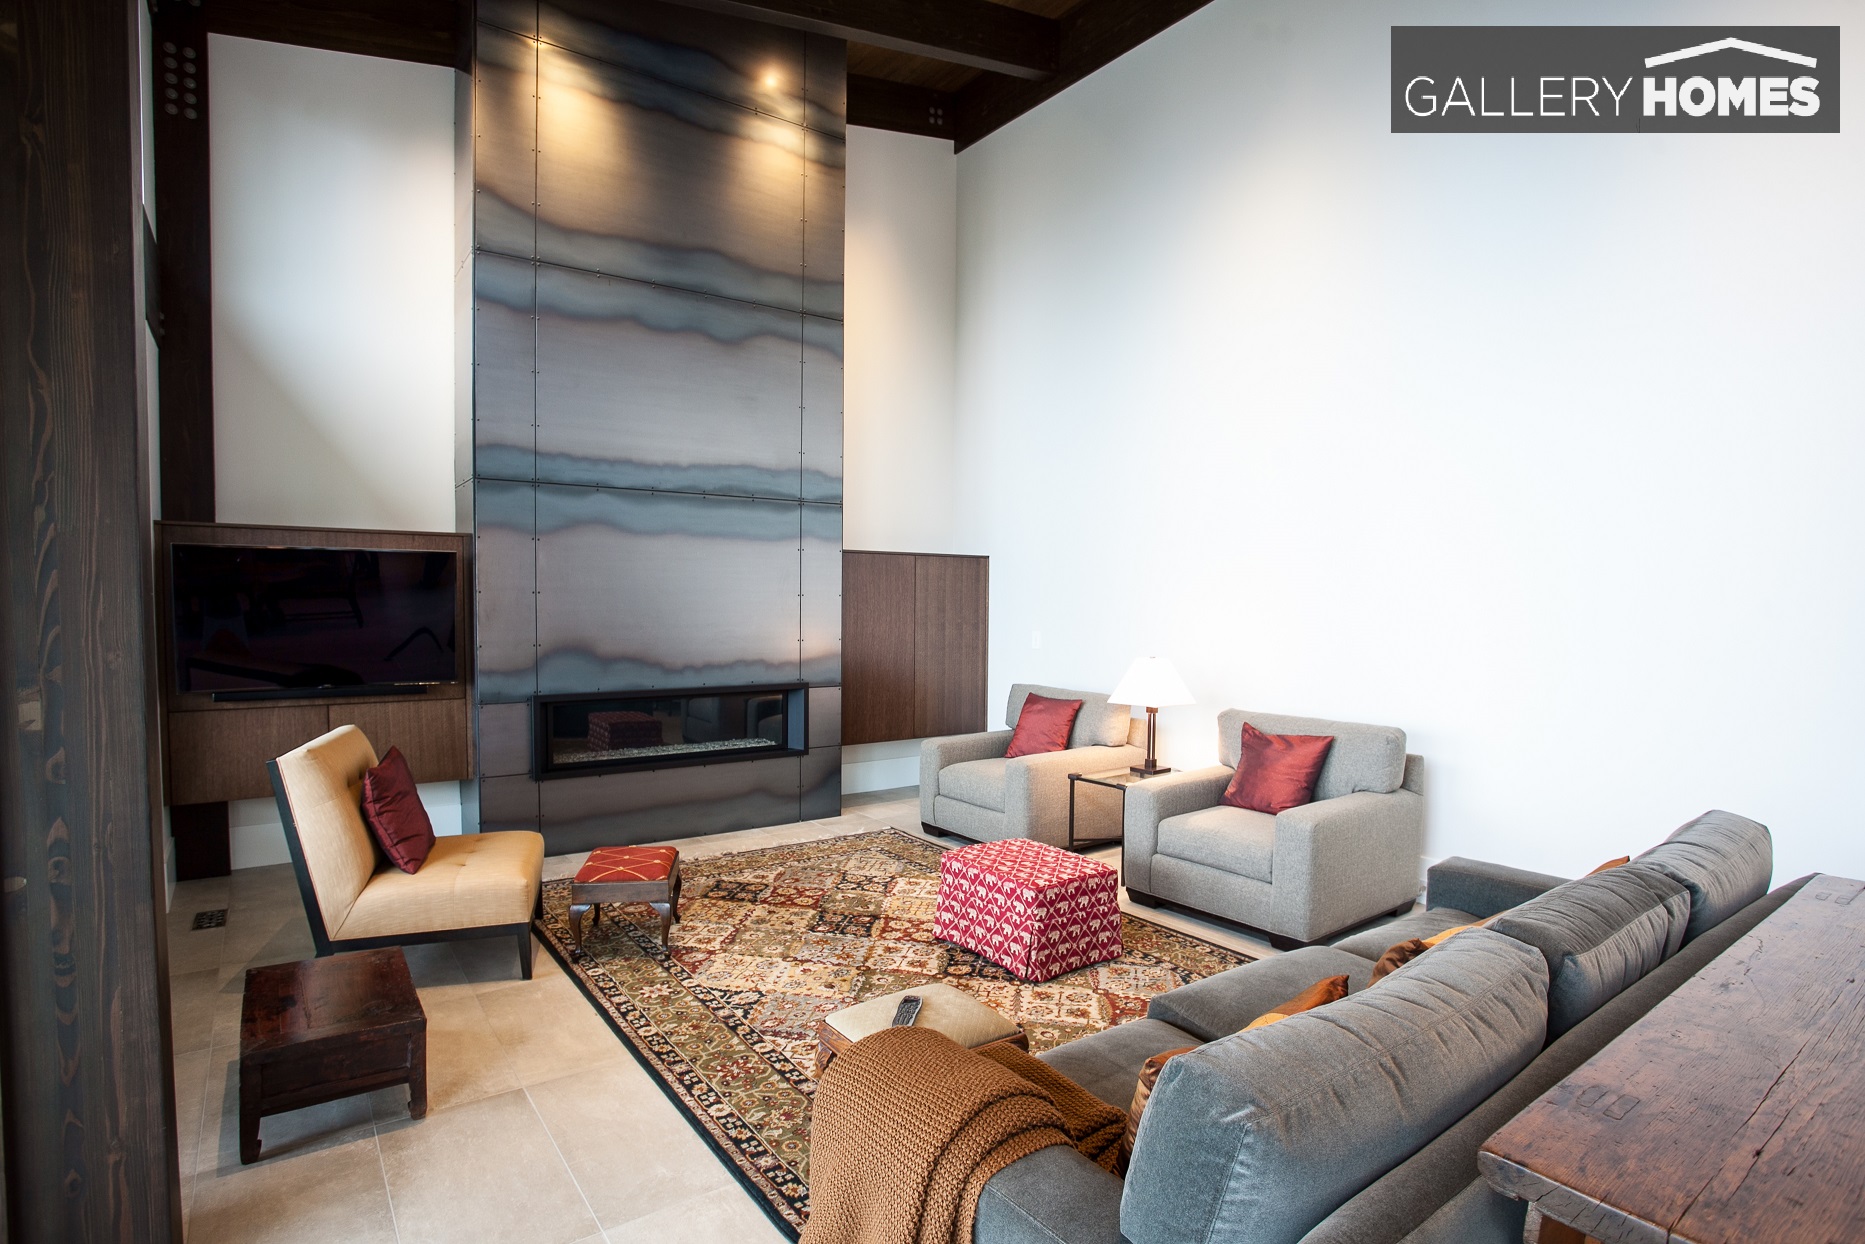
Stone or Tile Accents
IMG_6000

A stone accent wall is a beautiful and sophisticated choice. It’s hard to go wrong when adding natural materials to indoor décor.


Whichever you choose, an accent wall will make a space more inviting and is a great way to change the appearance of a space without painting the whole room.


For more information or tips like us on Facebook or contact us to request a free quote for your home.

How to Prep a Wall for Paint

Posted on: 3 Comments

Wall Prep

The correct preparation before painting a surface is key to a beautiful and long lasting paint job. We’ve compiled a list of things to do to ensure the best quality possible. For a flawless clean look you should follow a these simple steps on how to prep a wall for paint.
  1. Clear the space you are going to work in. Remove any furniture and décor items. Any items that cannot be removed should be moved to the centre of the room.
  2. Lay down a drop cloth (preferably cloth as it is not slippery) and cover any remaining furniture with plastic.
  3. Remove everything from the walls including pictures, nails, fixtures, electrical covers and window coverings
  4. Repair any damage with filler. Sand off the excess and clean up any dust. Sometimes larger repairs may require multiple coats, as filler and spackle tend to shrink when they dry.
  5. Smooth any uneven surfaces such as loose paint or left over spackle.
  6. Clean the walls using a mild cleaner. Avoid leaving any residue from the cleaner on the walls as this can have an effect on how the paint adheres to the surface. Follow up with a rinse using just water to ensure all cleaner is removed.
  7. Prime any spots that were filled so that they blend in to the new paint to ensure there is no shine in the spots that were repaired.
  8. Tape off any fixtures that could not be removed.
  9. We suggest using tape to remove any excess fluff on your roller before applying paint. This will avoid any small fibers in the paint that is applied to the wall.
  10. Depending on the current paint on the walls you may want to consider priming the entire surface. Primer is needed when covering oil based paints or paints with a gloss or semi-gloss finish.

(more…)